Radon is a radioactive gas that forms naturally in soil and rock. It seeps into homes through foundation cracks, sump pits, and utility penetrations. It is colorless, odorless, and tasteless. The only way to know if your home has a radon problem is to test for it.
This guide covers everything you need to know: how radon enters homes, how to test for it, how to interpret your results, and what it costs to fix a radon problem permanently.
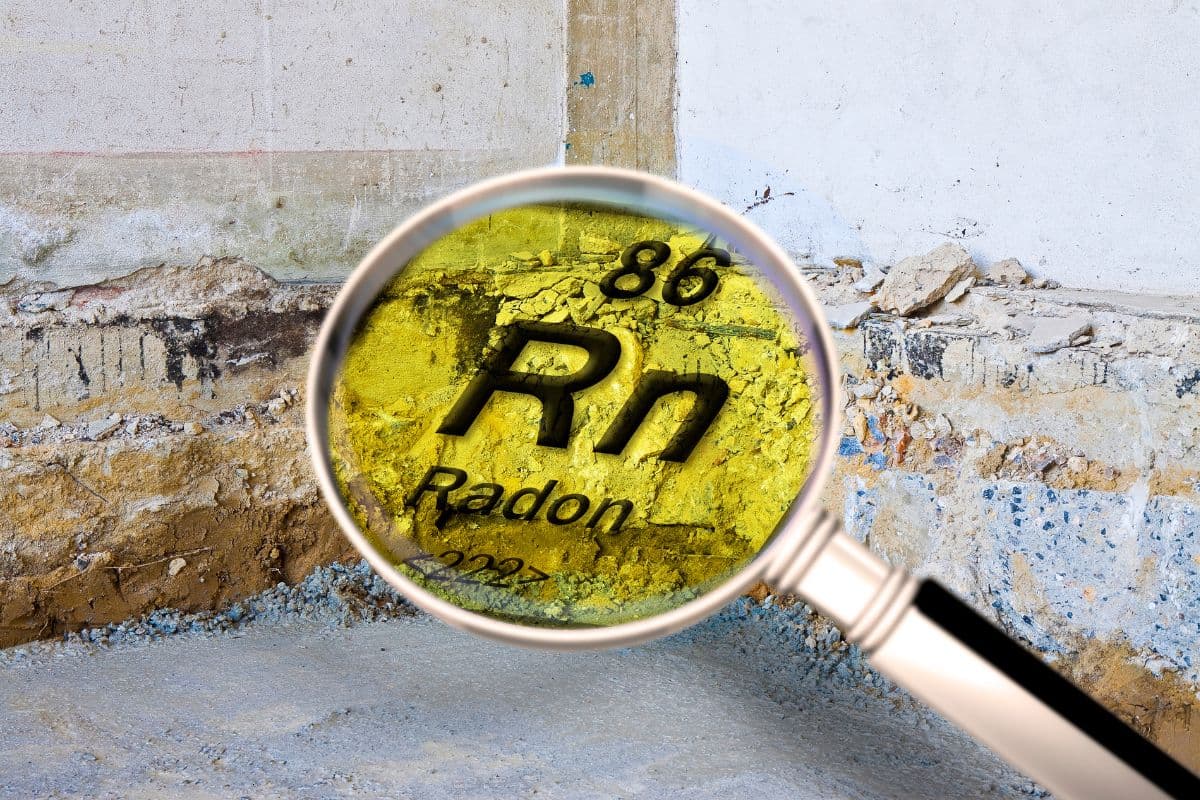
What Is Radon and Why Does It Matter?
Radon is a naturally occurring radioactive gas produced by the decay of uranium in soil, rock, and groundwater. It is present everywhere in the environment at low levels, but it can accumulate to dangerous concentrations inside homes, particularly in basements and lower levels.
When radon is inhaled, its radioactive decay products can become lodged in lung tissue, where they continue to emit radiation and damage DNA. Over years of exposure, this damage increases the risk of lung cancer.
The Health Risk Is Real
Radon is the second leading cause of lung cancer in the United States, responsible for approximately 21,000 deaths annually according to the EPA. It is the leading cause of lung cancer among non-smokers. Smokers exposed to elevated radon face up to 10 times the lung cancer risk of non-smokers at the same radon levels.
How Radon Enters Your Basement
Radon moves from soil into homes through pressure differentials. The interior of a home is typically at slightly lower pressure than the surrounding soil, especially during heating season when warm air rises and escapes through the upper levels. This negative pressure pulls soil gases, including radon, upward through any opening in the foundation.
Cracks in poured concrete floors and walls
The joint between the floor slab and foundation walls (called the cove joint)
Gaps around pipes, utility lines, and drains that penetrate the slab
Unsealed sump pits
Hollow block foundation walls
Crawl spaces with exposed soil floors
Types of Radon Tests
There are three main categories of radon tests: short-term, long-term, and continuous electronic monitors. Here is when to use each one.
| Test Type | Duration | Cost | Best For |
|---|---|---|---|
| Short-term charcoal canister | 2 to 7 days | $15 to $30 | Initial screening, real estate transactions |
| Long-term alpha track | 90 days to 12 months | $20 to $50 | Most accurate annual average for mitigation decisions |
| Continuous electronic monitor (DIY) | Ongoing | $100 to $250 device | Year-round monitoring, post-mitigation verification |
| Professional certified test | 48 hours minimum | $150 to $400 | Real estate transactions, highest accuracy |
How to Test Your Home for Radon
Testing your home for radon is straightforward. Here is the step-by-step process for a DIY short-term test.
Buy a test kit
Purchase an EPA-listed radon test kit from a hardware store or online. Charcoal canister kits typically cost $15 to $30 and include a prepaid lab analysis envelope.
Place the kit in the lowest livable level
Put the kit in the lowest level of your home that you use regularly. For most homes this is the basement. Place it at least 20 inches above the floor, away from drafts, exterior walls, and high humidity areas.
Keep windows closed
For accurate results, keep windows and exterior doors closed as much as possible for 12 hours before and during the test. Normal entry and exit is fine.
Leave for 2 to 7 days
Leave the kit undisturbed for the duration specified in the instructions. Most short-term tests run 48 to 96 hours.
Send to the lab and wait for results
Seal the kit and mail it to the included lab address. Results typically arrive in 1 to 2 weeks. Many labs also offer rush processing for an additional fee.
Understanding Your Radon Test Results
Radon is measured in picocuries per liter of air (pCi/L). The EPA has established guidelines based on the health risk at different levels.
| Radon Level | EPA Recommendation | Action |
|---|---|---|
| Below 2 pCi/L | Below average indoor levels | No action required. Retest in 2 years. |
| 2 to 4 pCi/L | Above outdoor average, below action level | Consider mitigation. Risk is low but real. |
| 4 to 8 pCi/L | Above EPA action level | Mitigate within a few months. |
| Above 8 pCi/L | Significantly elevated | Mitigate as soon as possible. |
The EPA action level is 4 pCi/L, but there is no truly safe level of radon exposure. The World Health Organization recommends action at 2.7 pCi/L. Many radon professionals target below 2 pCi/L for their clients.
Radon Mitigation Systems Explained
The most effective and widely used radon mitigation method is Active Sub-Slab Depressurization (ASD). It works by drilling a hole through the basement floor slab, inserting a suction pipe, and using a continuously running fan to pull radon from under the slab and vent it to the exterior above the roofline.
Active Sub-Slab Depressurization (ASD) - Most Common
Works on homes with poured concrete or block basement floors. Reduces radon levels by 90 to 99 percent in most homes. Costs $800 to $2,500 installed. This is the standard system for the vast majority of homes.
Sub-Membrane Depressurization
Used for crawl spaces with dirt floors. A heavy polyethylene membrane is installed over the soil, and suction is applied beneath it. Costs $1,500 to $5,000 including membrane installation.
Drain-Tile Suction
Used for homes with existing interior or exterior drain tile systems. The suction is applied to the drain tile network rather than directly under the slab. Effective when drain tile is present.
Block Wall Suction
Used for homes with hollow concrete block foundation walls. Suction is applied to the interior of the hollow block cores. Required when block walls are a primary radon entry point.
Basement ventilation is a secondary component of radon mitigation that works alongside primary techniques like sub-slab depressurization. Increasing air exchange dilutes radon concentrations, but exhaust-only ventilation can actually increase radon by creating negative pressure that pulls more soil gas through foundation cracks. Balanced ventilation systems like HRVs and ERVs maintain neutral pressure and are safer additions to a radon mitigation plan. For a complete guide to basement ventilation system types, including which approaches are compatible with radon mitigation, see our basement ventilation guide.
Radon Mitigation Cost Breakdown 2026
Here is what each component of a radon mitigation project typically costs.
| Cost Component | Typical Range | Notes |
|---|---|---|
| Professional radon test (pre-mitigation) | $150 - $400 | Required to confirm radon levels |
| Standard ASD system installation | $800 - $2,500 | Most homes fall in the $1,000 to $1,800 range |
| Additional suction points | $200 - $500 each | Needed for larger homes or complex layouts |
| Sump pit sealing | $100 - $300 | Required if sump pit is unsealed |
| Post-mitigation radon test | $100 - $300 (pro) or $15 - $30 (DIY) | Required to verify the system worked |
| Annual electricity cost | $50 - $150 per year | Fan runs 24/7 |
| Fan replacement (every 5-15 years) | $150 - $400 | Only component with limited lifespan |
Total radon mitigation cost for most homes: $1,000 to $2,500 all-in
For a standard active sub-slab system with pre- and post-testing.
DIY Radon Mitigation vs Hiring a Professional
Can you install a radon mitigation system yourself? Technically, yes. There is no federal law requiring professional installation, though some states do require licensed radon contractors. DIY radon fan kits are available online for $200 to $600.
Should you install it yourself? In almost all cases, no. Here is the comparison.
| Factor | DIY Radon System | Professional Radon Installation |
|---|---|---|
| Cost | $200 - $600 for materials | $800 - $2,500 fully installed |
| Effectiveness guarantee | None. If the system does not reduce radon levels, you have spent money and still have a problem. | Most professionals guarantee results below 4 pCi/L, and many guarantee below 2 pCi/L. |
| Suction point placement | Based on guesswork without diagnostic equipment | Professionals use diagnostic pressure tests to find the optimal suction point location |
| Real estate value | DIY installation may not satisfy home buyers or mortgage lenders | Professional installation with documentation adds resale value |
The price difference between DIY and professional radon mitigation is typically $500 to $1,500. Given that radon is a confirmed carcinogen and the system needs to work correctly around the clock for decades, professional installation is strongly recommended.
Frequently Asked Questions
How much does it cost to fix a radon problem?
Most homes can be mitigated for $1,000 to $2,500 using an active sub-slab depressurization system. This includes installation, materials, and post-testing.
What radon level is dangerous in a basement?
The EPA recommends taking action at 4 pCi/L or higher. However, there is no truly safe level of radon exposure. Many health organizations recommend considering mitigation at levels between 2 and 4 pCi/L.
How long does radon mitigation installation take?
A standard active sub-slab depressurization system can be installed in 3 to 5 hours for most homes. More complex installations may take a full day.
Does a radon mitigation system decrease home value?
No. A properly installed radon mitigation system with documentation showing safe radon levels actually increases buyer confidence and can add value to your home.
Should I mitigate if my radon level is 3 pCi/L?
While the EPA action level is 4 pCi/L, they also state that any radon exposure carries some risk. At 3 pCi/L, mitigation is a personal decision. Many homeowners choose to mitigate at this level, especially if they have children or spend significant time in the basement.
Can radon levels in a basement change over time?
Yes. Radon levels fluctuate seasonally, with winter months typically showing higher levels due to closed windows and heating system stack effects.
What should I do if my sump pump pit is open?
An open sump pit is a major radon entry point. It should be sealed with an airtight cover as part of any radon mitigation effort.
Final Thoughts
Radon is a serious but solvable problem. Testing is inexpensive and takes minimal effort. If your levels are elevated, professional mitigation systems are highly effective, affordable, and require almost no ongoing maintenance.
Start with a test. If your results come back above 4 pCi/L, contact a certified radon contractor for an assessment. For most homeowners, radon mitigation is a one-time investment of $1,000 to $2,500 that protects your family for decades.
Related Guides
Radon & Basement Waterproofing
How sealing your basement reduces radon risks and prevents water damage.
Basement Waterproofing Cost Guide
What to expect for professional waterproofing pricing in 2026.
Sump Pump Buying Guide
Choose the right sump pump to protect your basement from flooding.
Homebuyer Basement Inspection Checklist
Spot hidden water damage, mold, and foundation issues before you buy.
How to Prevent Basement Mold
Critical steps to prevent mold growth and protect your family.
Crawl Space Encapsulation Guide
Complete guide to sealing and protecting your crawl space.
Get Expert Radon Testing & Mitigation Advice
Connect with certified radon testing and mitigation professionals in your area for a free assessment of your home.