The Pre-Finish Audit
7 Critical Checkpoints
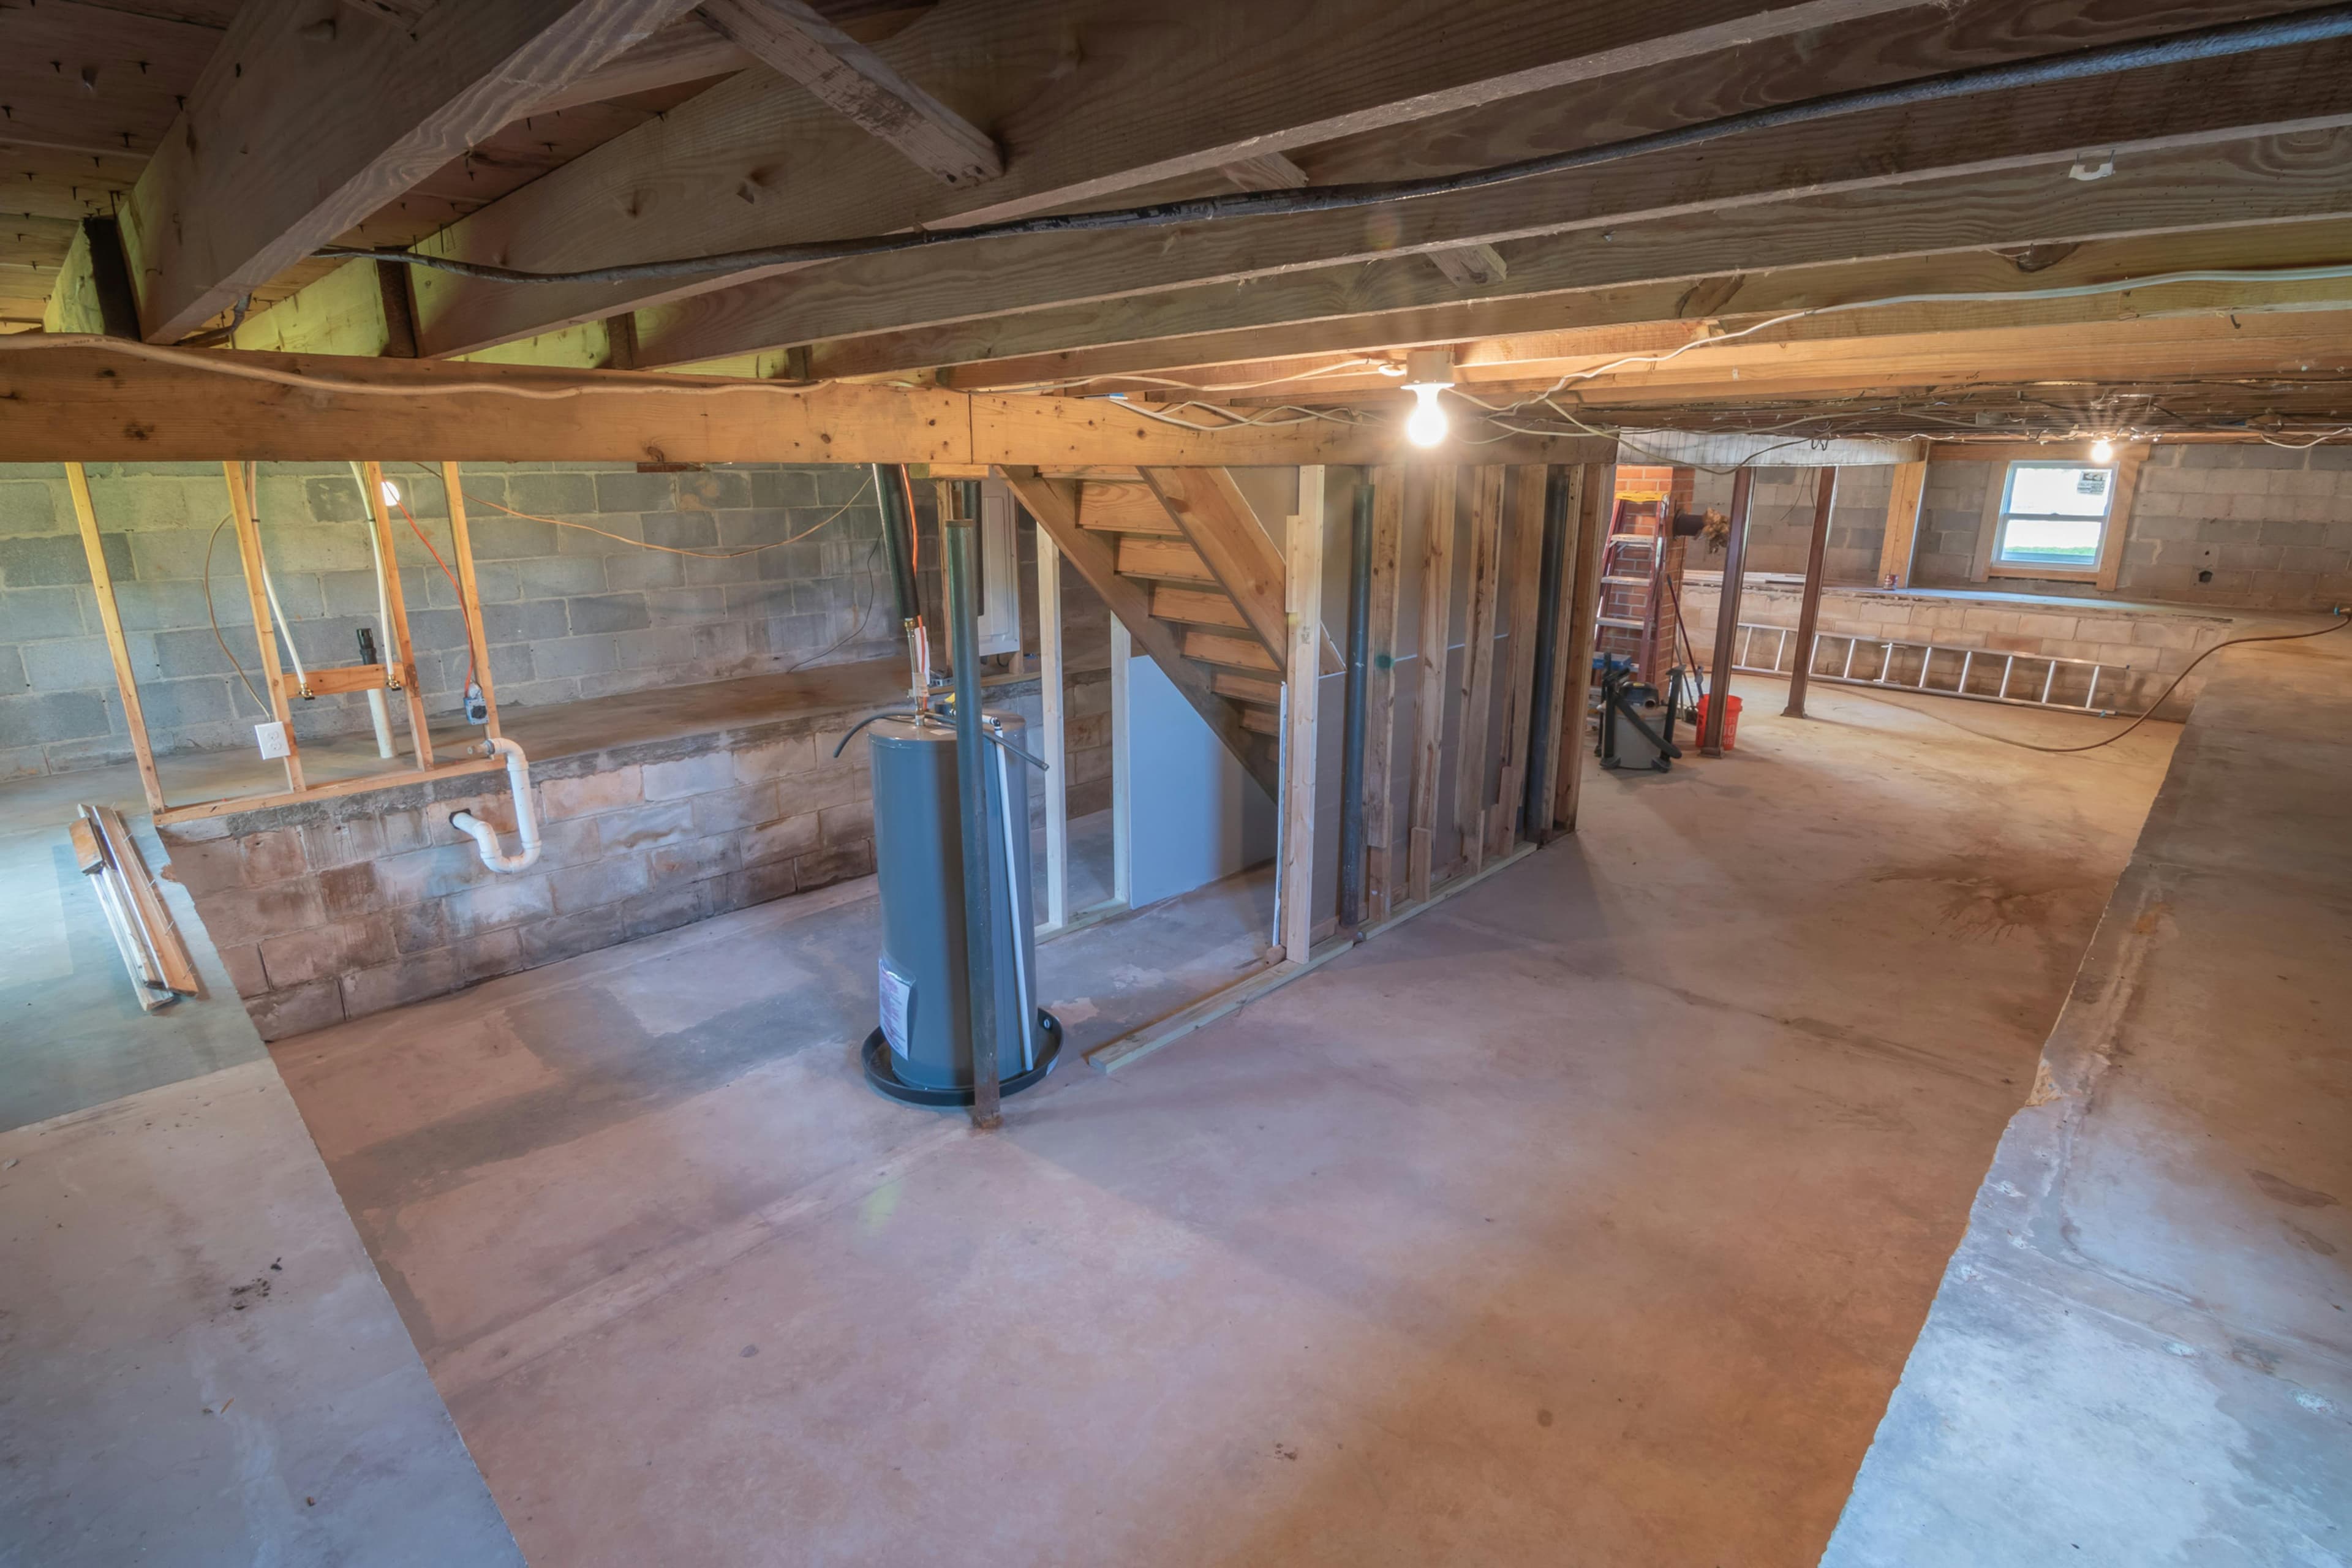
The leaks are stopped and you are ready to finish. But skipping this audit is the single biggest mistake a homeowner can make.
You have done it. The leaks are stopped, the vision is clear, and you are ready to transform that concrete cavern into a high-end living space. But finishing without a rigorous audit is the single biggest mistake a homeowner can make.
7 Critical Checkpoints
01. The Concrete Breathability Test
Concrete breathes. Moisture vapor constantly moves through the slab from the ground up. Before you lay any flooring or insulation, tape a 12x12 inch square of plastic sheeting to the slab and seal the edges with tape. Wait 24 hours. If condensation forms on the underside, you have a vapor problem that must be addressed first.
Why This Matters
Skipping this test is the number one cause of flooring failures in finished basements. Trapped moisture destroys flooring adhesives, breeds mold, and buckles engineered wood within months of installation.
02. Future-Proofing the Cove Joint
The cove joint is where your basement wall meets the floor. It's the most common entry point for water. Even if it's dry now, install a dimple mat drainage board along the perimeter so any future water is channeled into a drain rather than under your new flooring.
03. The Modern Vapor Management System
Do not use polyethylene vapor barriers directly against the wall. Modern building science has moved to a vapor management approach: using rigid foam insulation (XPS or EPS) that acts as both insulation and vapor retarder, preventing the cold wall surface from ever touching warm interior air where condensation can form.
04. No Wood to Concrete Contact
Never let wood framing touch the concrete floor or walls directly. Concrete wicks moisture and will rot any wood that touches it, even pressure-treated lumber, over time. Use a pressure-treated sill plate with a foam gasket underneath on the floor, and keep wall studs at least half an inch from the concrete wall.
05. Plumbing and Electrical Redundancy
Before you close the walls, photograph and map every pipe, drain, shutoff valve, and electrical circuit in the space. Label your panel. Run GFCI circuits for the entire basement. Install an additional floor drain if your sump ever overflows. These costs are minimal now and catastrophic to add later.
06. Egress and Emergency Planning
If your basement will be used as a bedroom or habitable space, building codes require a properly sized egress window or door. The opening must be large enough for a person to escape and a firefighter to enter. Verify this before framing in your windows.
07. Final Dry-In Test
After addressing all the above, run your dehumidifier at its highest setting for 72 hours, then measure the relative humidity in the space. You want it below 50% before you start framing. If it can't get below 60%, something is still wrong.
Complete Waterproofing Guide
Everything you need to know before finishing your basement.
Types of Foundation Cracks
Identify which cracks are cosmetic and which are structural.
Ready to Finish Your Basement?
Get connected with top-rated finishing contractors who will do the job right the first time.